Pages

Thursday, April 23, 2020

Mother's Day Freebie Sentiment #1

I really had forgotten how much fun it is to create digital sentiments.  Here is the first in a series of sentiments for Mother's Day:

JPG
PNG
To download these, right click on the image and select the option "save as"  to save to your own computer.  I use a word processing program (like Microsoft Word or Word Perfect) to insert these into a document, size them appropriately and then simply print on heavy card stock and cut it out with either a punch or a die.  

Here are a couple of cards I made using this sentiment:

Papers used: Poppy Parade, Basic Black, Whisper White, Gold Foil and Peaceful Poppies dsp.  I also used the Ornate Layers dies. and my Stampin' Up! markers. The sentiments were printed on white cardstock using my ink jet printer and then cut out.

These sentiments are created using my font and graphics collections.  The sentiments that I have created for this series are all simple Happy Mother's Day with different floral graphics.  In the past I have done different phrases celebrating moms, but this year I simplified things a bit.  I may resurrect a few of the older ones if anyone would like something different.  Just shoot me an email (link in the sidebar) or leave me a comment.  When leaving comments it is important to include your email address if you would like a reply or response from me.  Thanks!

Thanks for visiting and I hope you are all staying healthy and safe! 

If you have any questions about the techniques or materials used in the work displayed on this blog, feel free to use the email link on the left and I will gladly answer your questions.

Wednesday, April 22, 2020

Believe You Can

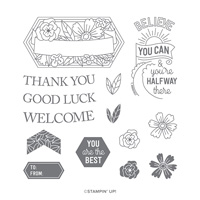
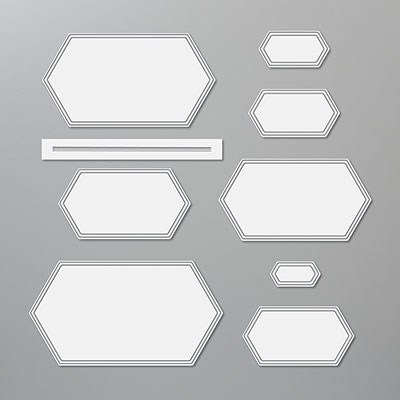
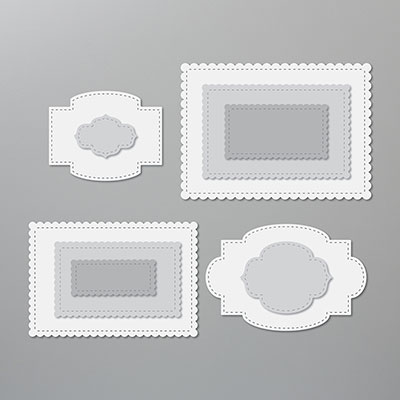
Believe You Can is another set that I just love.  I stamped up a bunch of the labels and flowers and cut them with my Scan n Cut machine (I promise, more on this later).  I colored them in various bright colors with my blends. The card base is Old Olive with a layer of Pineapple Crush (I will be so sad when this nice bright yellow retires) and then a piece of the gorgeous Ornate Garden dsp.  I layered the colored, stamped label onto a piece of Pineapple Crush cut with the Stitched Nested Labels dies (it's so fun when all the pieces fit together so well) and popped it up along with some of the flowers and had a card!  Here is is:


Great fun to make and color and I think it is so bright and cheery.  Here are some of the products I used for this card:
I have also been working on some freebie sentiment graphics for Mother's Day.  It has been a very long time since I have done any of these and I had forgotten how much fun they are to make.  Look for some of those coming in the next few weeks.

Thanks for visiting and I hope you are all staying safe and healthy!

If you have any questions about the techniques or materials used in the work displayed on this blog, feel free to use the email link on the left and I will gladly answer your questions.
Tuesday, April 21, 2020

Another Challenge Card

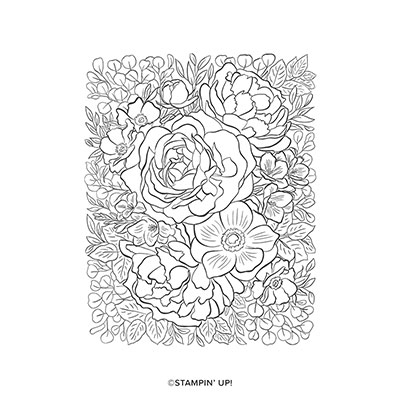
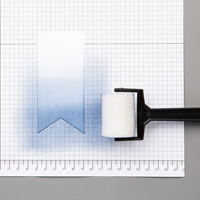
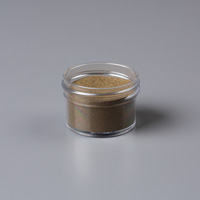
I think I told you about the challenge that my wonderful breakfast group of demo gals set for each other (see HERE). This was the other card I made for that challenge.  I fell in love with the Breathtaking Bouquet background stamp in the mini catalog.  I had a vision of stamping it in Versa Mark on glossy cardstock (retired) and embossing it with gold.  I recently purchased some of the new style foam brayers from Stampin" Up! and thought this would be the perfect time to try it out. So I did ... and this is the result:

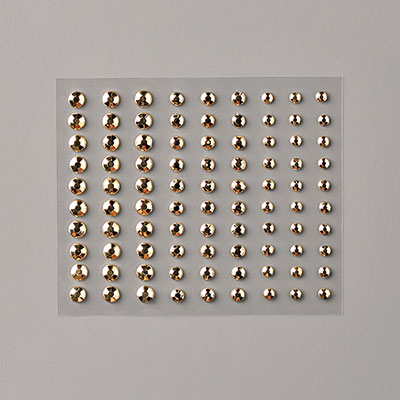
I used a card base of Rococo Rose with a layer of Lovely Lipstick and then brayered the stamped and embossed image using those two colors.  I added a sentiment panel stamped on one of the die cuts from Ornate Labels and added some of the gorgeous new gems offered in the Ornate Garden suite.

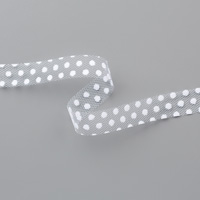
The addition of a faux bow of the Whisper White dotted swiss ribbon topped it off.  Another simple, easy and elegant card.  I think my embossing skills still need some work, but this was a lot of fun to make.  These are some of the products I used:
I am attempting to get this blog back up and running and giving myself some goals for posting that will hopefully get me back into the swing of things.  It appears that we will not be going out on Belmira this season, so NO EXCUSES! DH has decided that traveling east is just not a prudent thing to do this season and I heartily agree.  Soooooo ... I will be spending more time in the craft cave and creating some great projects to share with all of you.  My hit counter stopped working and I have since added a new one and it appears that I am approaching that magic number of 500,000 page views so a celebration might be in order soon!

Thanks for visiting and please follow your local pandemic guidelines and stay healthy and safe! 

If you have any questions about the techniques or materials used in the work displayed on this blog, feel free to use the email link on the left and I will gladly answer your questions.
Monday, April 20, 2020

Another Ornate Garden card

I was so happy when Stampin' Up! offered a sneak peek into the new Annual Catalog by debuting the Ornate Garden Suite.  This suite is just packed with everything you need to make some really fun and gorgeous cards.  There are stamps, designer series papers, dies, ribbon, an embossing folder and even some fancy gem stones.  Anything and everything you could possibly need.

I have been playing with the items in this suite and here is another card I would like to share with you:


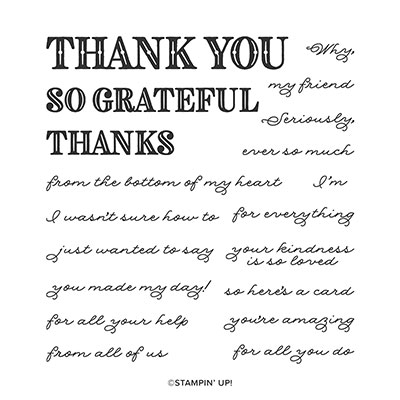
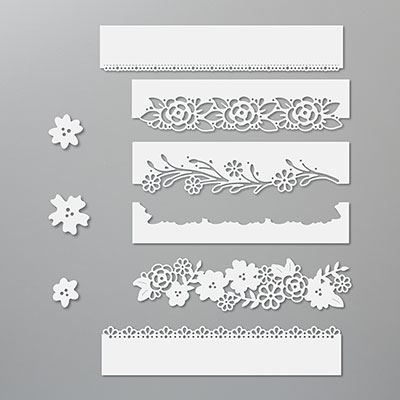
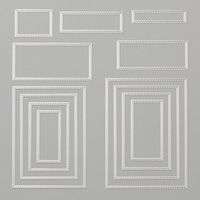
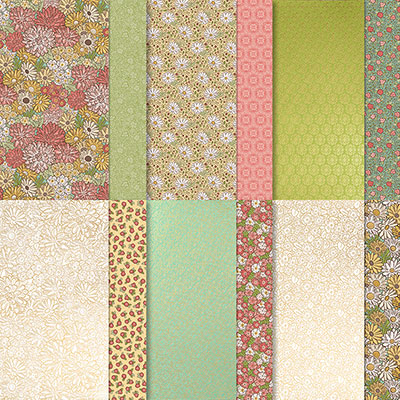
For the card base on this card, I used Rococo Rose.  I die cut the largest rectangle in the Ornate Layers die set from gold foil and layered a piece from the Ornate Garden dsp pack (oh how I love these papers).  I layered another die cut in gold foil from the Ornate Layers die set and added a stamped image from the Ornate Thanks stamp set which I colored with a Rococo Rose marker.  Very simple, very easy and I think very elegant!

Here are some of the products I used:
There is no need to wait for the arrival of the new Annual Catalog, the products in this suite are available to purchase right now!  Contact me if you have any questions.  My email address is in the sidebar or you can leave me a comment and I will attempt to answer any questions you might have

Thanks for visiting and stay safe and healthy! 

If you have any questions about the techniques or materials used in the work displayed on this blog, feel free to use the email link on the left and I will gladly answer your questions.

Sunday, April 19, 2020

More Plaid

Here are the cards I made with the plaid patterns from the Lawn Fawn Perfectly Plaid Fall pack:


I am having a lot of fun (as you can tell) playing with some of this paper that has languished at the bottom of a pile for a long time.  On the top one, I used the Bonanza Buddies stamp set and dies. My grandchildren are mostly past the "kids" card stage and even when they were they were mostly interested in what was inside the card! LOL! The papers I used were Grapefruit Grove for the card base and a layer of Coastal Cabana underneath the plaid layer.  I stamped and cut out the two characters, the sentiment and the hat using Bermuda Bay and Grapefruit Grove and colored a little bit with markers and added some gold accents from my stash.

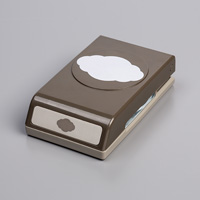
The bottom card uses a Terracotta Tile card base with a layer of Pretty Peacock under the plaid. I used some retired colored doilies and cut out a gold base from the Stitched So Sweetly dies and added a sentiment from Band Together stamped in Pretty Peacock and punched out with the Pretty Label punch. I added a couple of gold accents from my stash.

Here are some of the products I used:


I am hoping to make a couple more cards with the Christmas Color plaid pad and then that will be the end of it for the Lawn Fawn papers.  I am still enthralled with plaid though so ...

Thanks for visiting and I hope you are staying healthy and safe!  

If you have any questions about the techniques or materials used in the work displayed on this blog, feel free to use the email link on the left and I will gladly answer your questions.
Friday, April 17, 2020

Playing with Plaid

The craft cave has been getting a huge clean-up and reorganization over the last few weeks.  With the lockdown going on it was the perfect opportunity!  I have gone through much of my 6 x 6 and 12 x 12 designer series papers and pulled, packaged, marked and sold some of it, but there are still piles I have either not gone through or just can't part with.  Some of the paper I could not part with were a couple of 6 x 6 plaid packs from Lawn Fawn. I pulled some sheets out and decided to make some cards with them.  Here's a couple of the resulting cards :

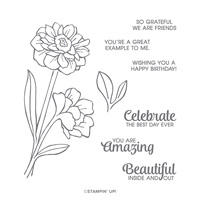
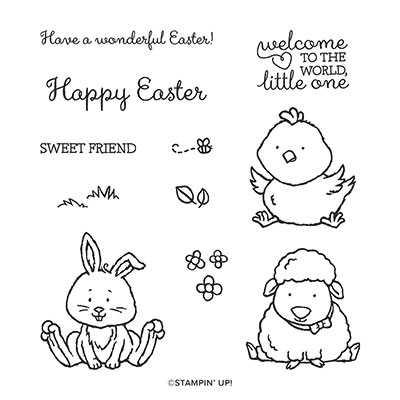
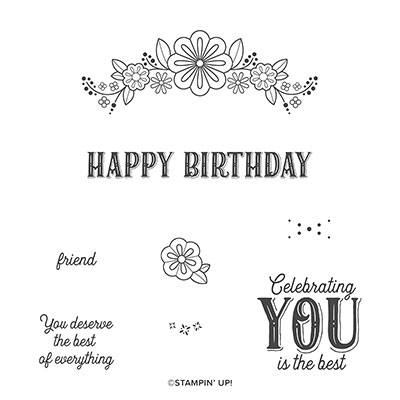
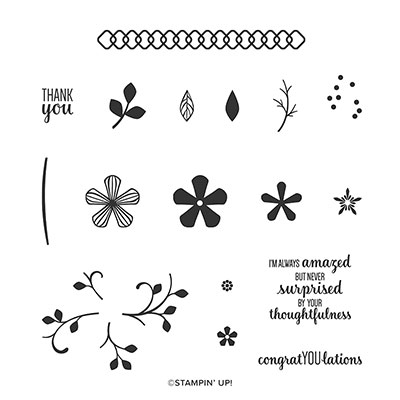
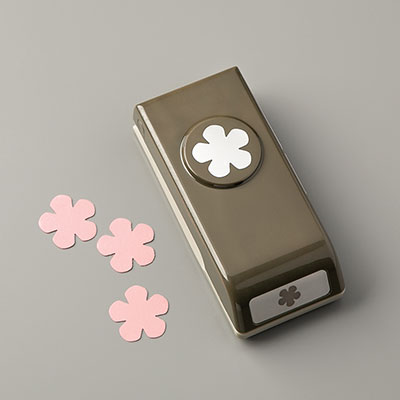
These were such fun to make and color.  I stamped up the critters from the Welcome Easter stamp set, cut them out with my Brother Scan n Cut machine (more on that super fun device coming up soon) and colored them with my Stampin' Blends.  Added a couple of sentiments and flowers and I was good to go.  The colors for the card bases and layers are swapped for each card. I used Soft Sea Foam and Rococo Rose.  The flowers were stamped from the Thoughtful Blooms stamp set and punched with the matching punch (both were items free during Sale-a-Bration).  The sentiments come from Welcome Easter and Birthday Jubilee.

Here are some of the products used:
If you want more information about the blends I used, just let me know and I can figure that out and send it to you.  There's an email link in the sidebar or you can just leave me a comment.

The Lawn Fawn papers were from a Perfectly Plaid pad and I just love them.  I have some papers pulled from the fall pack too and will be playing with those very soon.

Thanks for visiting and stay safe and heathy! 

If you have any questions about the techniques or materials used in the work displayed on this blog, feel free to use the email link on the left and I will gladly answer your questions.